We all see a lot of DIY projects all over the internet lately and while it is interesting to look at how good the project is after it’s done, the process can be somewhat tedious, especially when working with wood. Sanding, for example, requires its method of doing, and some people don’t find it fun.
To help you start with your woodwork project, here’s a simple guide on how to sand wood.
Why Sanding?
Average-looking woodwork becomes refined and well-made when it has gone through sanding. The majority of raw wood obtained from a home improvement store or lumber yard is in an unfinished state unless, of course, it has been sanded. It has scratches, uneven surfaces, and other imperfections, and feels rugged and sawdusty.
If you want a polished finish, you should be considering sanding your wood. The true grain of the wood would not come through as beautifully as it would if you first sanded it, and staining over that would result in a sloppy, blotchy finish. Additionally, while staining, sanding the wood allows the stain to truly penetrate well and evenly.
Additionally, if you paint over a plain wood surface unsanded, its raw and plain texture will show through, making it look a bit rough and unappealing. The same idea also holds for wood that has already been finished or that is aged.
Benefits of Sanding
The following advantages come through sanding:
- Clean the wood’s surface, get rid of any flaws, and lessen the wood’s repulsion or grain.
- Create a surface roughness that will allow the varnish to adhere.
- Enhance the final appearance by giving it a supple, pleasant feel.
- They occasionally might improve a worn-in, rustic look or create a surface pattern.
Guide to Sanding
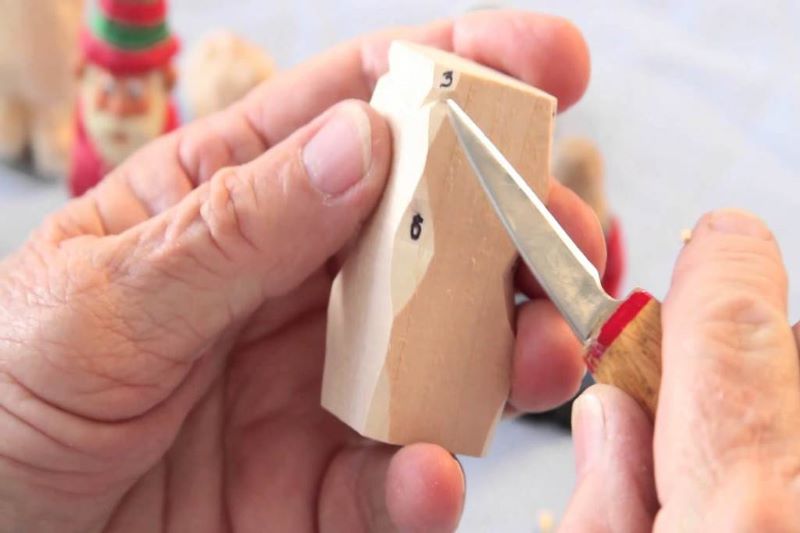
1. Determine whether you will use sandpaper or a tool in sanding. If sanding only requires some light work, sandpaper or a sanding block will do. But if it requires bulk work, you might consider using a sanding tool.
2. Know the kind of sanding paper to use. If you are to use sandpaper you must know what kind of sanding paper you will use.
Sandpaper removes a very thin layer of wood from the surface of the wood by scratching it. There are several different grits of sandpaper. Higher grits suggest smoother sandpaper, whereas lower grits indicate coarser sandpaper.
The term “grit” refers to the aluminum oxide particles that make up sandpaper. Coarse grit is composed of bigger, fewer, and more distantly spaced particles; #60 is an excellent example. The grit becomes finer as the particles become smaller and closer together. When shaping or leveling, coarse sandpaper works more quickly and efficiently than fine sandpaper to erase flaws. To smooth and polish wood, fine grit (such as #180 or #220) is used in the latter stages of sanding. Start by leveling the wood with a coarse grit, then smooth out scuffs with finer grits until you get the desired smoothness.
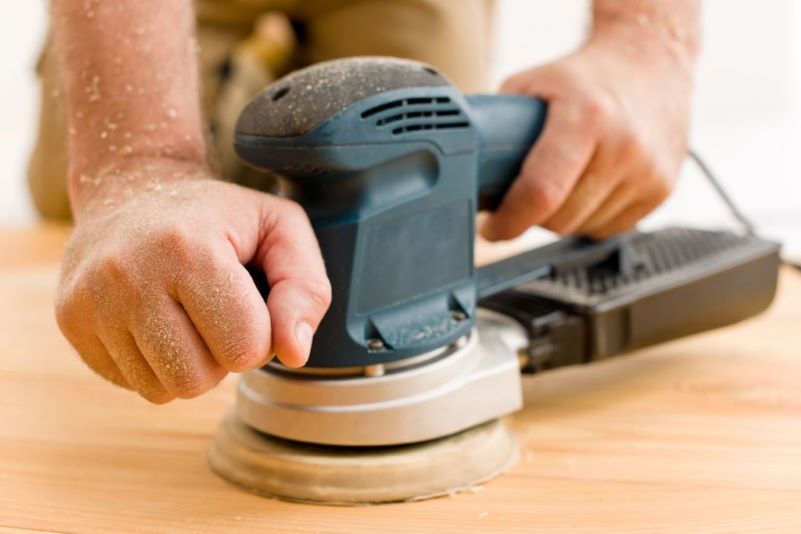
3. Learn which sanding equipment is ideal for your project. The type of sanding tool you use is determined by the sanding surface. Nothing beats high-speed fixed sanding equipment for large surfaces. You can also use sandpaper on its own, sandpaper combined with a sanding block, an orbital sander, or a rotary tool. When only light sanding is necessary or the surface is relatively soft, hand sanding techniques work well. For flat surfaces, many woodworkers choose orbital sanders, while for intricate tasks and difficult-to-reach places, they prefer rotary tools.
Start Sanding
1. Set up a sanding workspace. It’s preferable to sand wood outside or, if feasible, in a workshop or garage because it’s a messy procedure that produces a lot of sawdust. Use a work table or stable, level surface whenever possible.
2. Wear sanding dust protective gear. To prevent getting sawdust in your eyes, put on protective goggles. If you’d like, you can also put on a face mask or respirator for sanding. It’s better that you also use utility work gloves to help prevent splinters caused by sawdust and lessen the vibration on your hands.
3. Keep your wood or your tool stable while sanding. The object you’re sanding mustn’t move throughout sanding. When sanding, non-slip pads are excellent for holding flat pieces of wood or just employ a clamp.
4. Keep your woodwork clean while sanding. Before starting the sanding tool, prepare the work surface. Before you begin sanding, wipe the surface with a moist cloth and make sure it is completely dry. If you want to switch to a rougher grit while you’re still sanding, use a vacuum. A brush is another option, but a vacuum cleaner will get rid of all the dust and stop it from blowing around. A vacuum cleaner will also stop dust from being driven back into the wood grains if you’re dealing with wood.
5. Finish off your sanding. Finishing off your sanding depends on the kind of finish you want. If you want wood with a light stain, the surface should be as smooth as possible. Coarse grit scratches will absorb more of the stain, making it darker where it has been scratched. This means that you need to use very fine grit to finish. This type of finish necessitates many levels of coarseness and a little more patience. By casting shadows on the surface while shining a torch at an angle, you may check for scratches. In contrast, you don’t need to sand it as finely if you plan to apply multiple coats of paint.
You can also check your piece by turning it to the side under a light to check if there are any blemishes that are still in need of sanding.
Finally, remove the sawdust from the wood. The removal of sawdust can be done in various methods, such as with a shop vacuum, a damp cloth, etc.
Sanding is done to smooth out a surface and improve the appearance of wood. Sanding can be time-consuming, but it is beneficial for all of your DIY projects.
For those without experience, sanding and polishing floors, especially those made of hardwood, may seem like a difficult task. However, if you know the proper way to sand, prepare and stain the wood along with having the right tools, equipment and knowledge, the procedure is very simple.