Ceramic tiles usage dates back to the oldest civilizations in history. Some of these civilizations include the Egyptians who used tile bricks to decorate their houses in the 4th millennium. In Mesopotamia, tiles were used in the 5th millennium BC where they were used to decorate the Ishtar Door of Babylon.
Over the years, tiles usage has increased with the U.S consuming approximately 3.11 billion square feet of tiles in 2018 alone. This wide usage is attributed to the growth of the new residential home market. Despite this growth, many people still find themselves making tiling mistakes during installation.
Common Tiling Mistakes to Avoid
Most tiling failures can be attributed to incorrect installation. Avoid these common tiling mistakes to ensure that your next project at home is a success.
1. Wrong Calculation About the Number of Tiles Needed
Buying the exact amount of tiles required to cover the intended area fails to accounts for any miscalculations and breakage during installation. The problem with purchasing an exact number of tiles is that finding the exact match can prove to be a nightmare. In the end, you might find yourself with mismatched tiles.
When handling DIY tile jobs, make sure you buy at least 15% more tiles to avoid the above inconveniences.
2. Ignoring the Overall Design
When tiling, it’s important to match the tiles with the overall design of your house. For instance, it would be odd to install dark tiles in a predominant white house. Always make sure the color of your tiles matches the overall decor of the home.
Some essential elements to consider when choosing the right tile color include fixtures and fittings for the bathroom. For the kitchen, the colors should relate to the painted surfaces, cupboards, and bench tops.
3. Wrong Underlayment
If you want your tiles to lay flat after installation, you must ensure the underlayment is appropriately installed. Correct any underlayment issues by building up the tile with ½ or ¼ inch of cement board underneath. Alternatively, you can use vinyl tile since it’s known to have a proper underlayment as long as it’s not damaged.
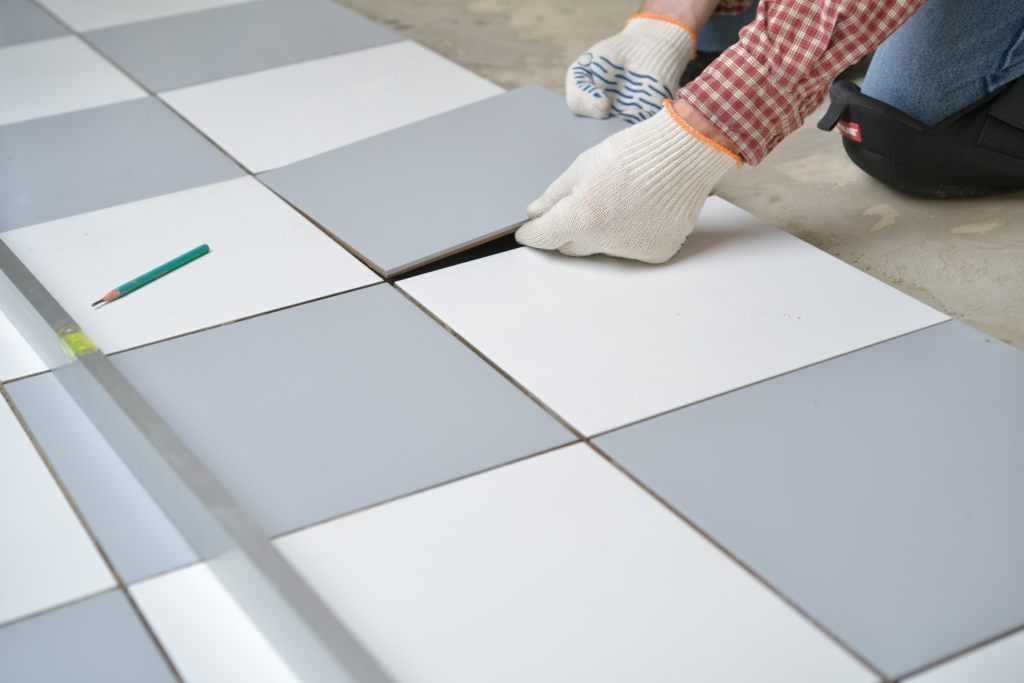
4. Improper Alignment
When installing tiles, whether, on your kitchen floor or bathroom wall, you need to start by finding your starting point. Lay out an entire row making sure you leave spaces between the tiles and stop once you have no space for a full tile.
Be sure to adjust your center in case you’re left with less than a half-tile space left at either end. Having less than a half-tile space on one end means that the other end will have two-thirds of a tile left, hence, making your room look out of kilter. Make sure you know how to lay tiles on a wall to avoid alignment problems.
5. Having Unintended Tile Pattern
One of the most prevalent DIY tiling mistakes is the variation in tile finishes. To avoid the mistake, start by opening all the tile boxes and placing the tiles in bunches of three or four. This arrangement ensures you detect any slight variation in the patterns or tone of the tiles.
Ensure that all directional arrows follow the same direction. It’s also paramount that you have enough tiles on hand before you start laying them down. This prevents the need to finish the corner using a tile from a freshly opened box.
6. Wrong Tile Size
Always make sure the size and layout of the tiles match the dimensions of the area you want to install. Although large size tiles are on the trend, using them can result in a bad tile job when used in the bathroom. Getting the right dimensions of each room you want tiled prevents ending up with odd sized cut tiles that make your room look chaotic.
7. Buying Varying Tiles Types for One Room
When having just one tile type in a room is somehow dull, having too many types in a single room looks messy. You can achieve an appealing look by using a maximum of three types of tiles. Consider larger tiles for the bathroom wall since they are easy to clean and use smaller tiles for niches and feature walls.
8. Loose Tiles
This problem is most likely to occur due to using too thin-set or uneven application of thin-set. Applying thin-set only on the corners or center of the tile creates a weak bond that results in loose tiles. You can avoid this mistake by ensuring that you’ve set at least 80% of the tile with thin-set.
When using thin-set, it’s important to note that it dries quickly just like grout. It’s, therefore, advisable to mix it in small batches that’s enough to apply on two to three tiles evenly. In case it dries out, don’t try to add water, instead pour it and mix a new batch.
9. Loosening and Cracking Grout
Grout thins too quickly and might get you in surprise. This can tempt you to add water to thin out the grout rather than pouring it and adding a new batch. Adding water makes the grout thin out too much, rendering it ineffective.
When the grout is too thin, it will hold for a while and loosen after a while. The solution to this problem is to mix grout in small batches to prevent it from drying out.
10. Failing to Prepare the Wall
Before tiling your wall, ensure that’s properly prepared by cleaning any fingerprints, grease, and stains. The surface should also be adequately dried unless you’re installing in a wet area. The problem with tiling a dirty wall is that neither the adhesive nor the tiles will adhere properly.
When laying wall tiles, you can install them on drywall and plaster. However, if you’re installing in a wet area, you need to install them over the cement board.
Follow Us for More Home Improvement Tips
There you have it, the most common tiling mistakes and how you can avoid them. If you follow the tiling process and these tips to the letter, you will have a successful tiling job.
If you have found these tiling tips useful, don’t forget to explore our blog for more home improvement tips. We also offer useful insight on different niches, including gardening and real estate.